|
|
Changes to the Cameo
page 4
|

|
|
| June 11, 2007: This is not exciting but it is a change to the Cameo. I have finally added leveling indicators to the side of the Cameo to make it easier to level. It took over an hour to get it right. I am currently level from front to rear but slightly off level from side to side. I had to make sure the side to side indicator showed off level. |
| June 14, 2007: Our bedroom TV has arrived. It's a very nice Toshiba LCD TV with built in DVD player. I was originally going to mount this TV to the side of the cabinet next to the window but Gwen |
 |
|
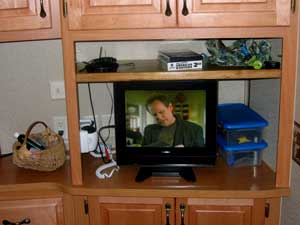 |
talked me into leaving it in the cabinet with the satellite connection. We don't really need the extra storage space and my intention is to install doors to this cabinet to hide the TV and other stuff. |
|
| I first had to construct a short satellite cable in the upper photo. Note there is still plenty of room in the TV space for other storage. I've also installed the wireless headset (the black box with short antenna on the left side of the shelf) so one of us(me) can watch TV while the other reads or sleeps. When you slide your cursor over the TV photo, you'll see how I enjoy the new addition. TV in bed with two remotes, one for the TV and the other for the satellite box. Crazy, huh? |
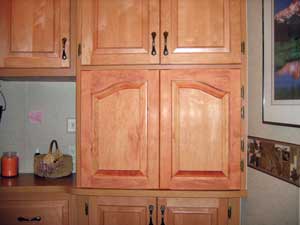
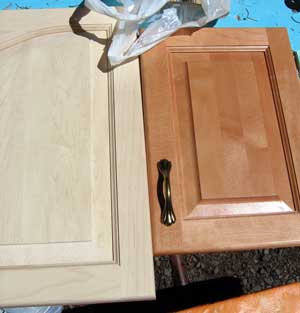
| June 18, 2007: We ordered new cabinet door fronts to cover the TV cabinet in the bedroom. I've learned that you can order just about any cabinet door you can possibly imagine. These doors were well priced at only $35 each plus shipping. They are hard Maple just like our original doors. They are unfinished but we plan some special art projects for them. First we want to get them stained fairly close to the original. Pass your cursor through the photo to the right to view the match. You can |
 |
|
|
 |
also view the match to the above left. These doors are relatively heavy since they are solid Maple, so I installed four hinges to support the weight of two doors because they will be bi-fold to get them out of the way in the bedroom. I did this same modification with cabinet doors in our King of the Road. |
|
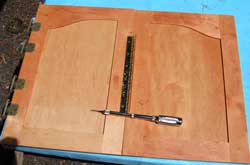
| I installed a continuous hinge in the center of the two doors so they will bi-fold against the bedroom wall allowing for TV viewing room, ease at using the permanently installed hair dryer and keeps the left door from interfering with walking around the bedroom. I predrilled the screw holes, then mounted one door at a time. You can see the continuous hinge on the door to the right. |
 |
|
|
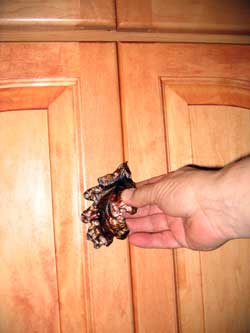 |
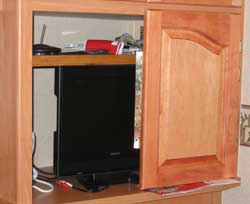
I wanted something very special as a cabinet pull. The wall trim throughout the trailer is a pattern of oak leaves (the brown strip of wall paper on the wall in the above photo). I found a wonderful, hand cast Oak Leaf, hand painted, solid brass cabinet pull which I mounted to the right side of the left door. Pulling on this brings booth doors toward you and easily fold both doors toward the wall. Click on the cabinet pull to the left to view a close up of the pull. The company I ordered from have many choices from a few dollars to over $800 for a cabinet pull. Gwen is a talented painter. Sometime in the future, she will paint scenery onto these doors. |
|
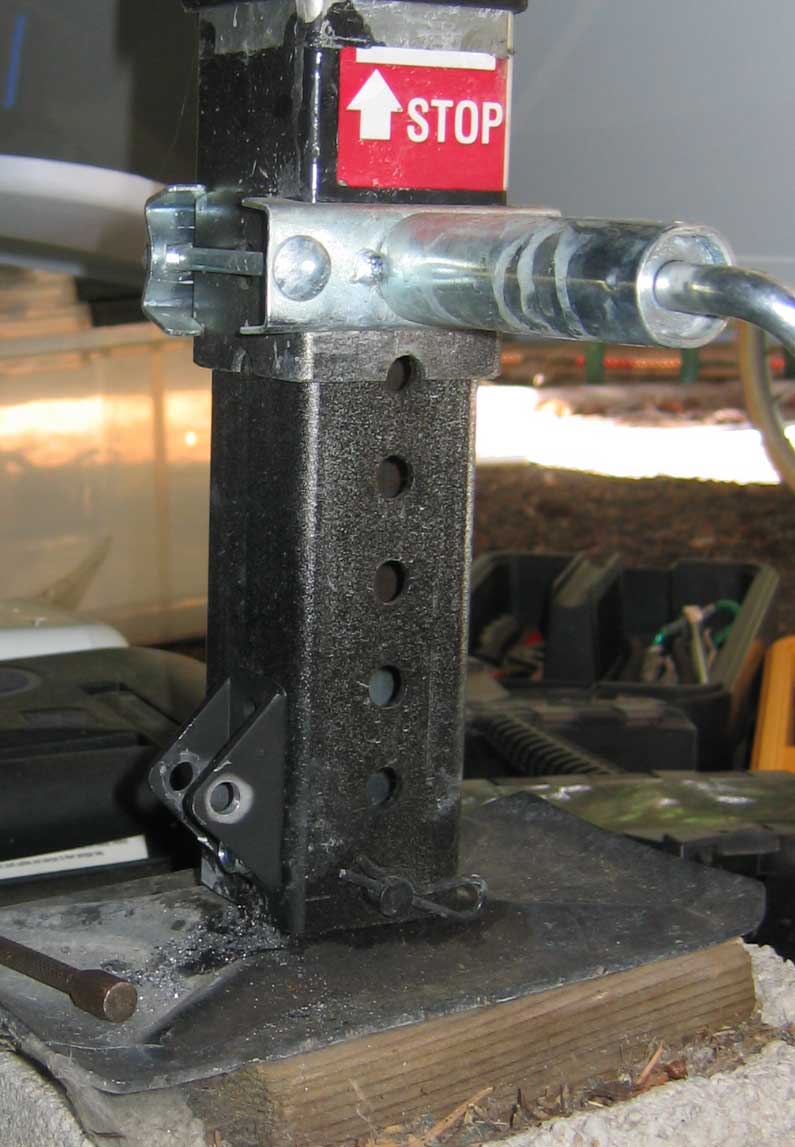
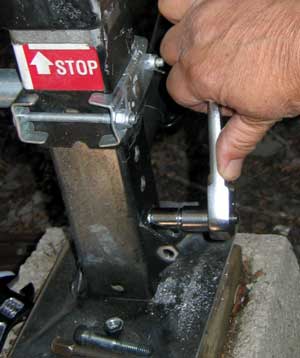
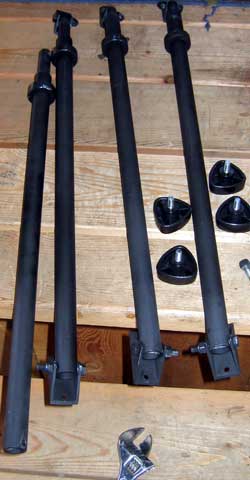
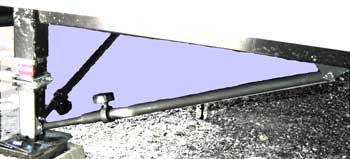
| June 25, 2007: To make the Cameo more stable we have decided to install stabilizer rods to the landing gear. Previously, I installed stabilizer rods to the scissors jacks on the King of the Road which help steady the trailer considerably. These were homemade by myself and a welder. This time I chose to purchase the rods for easier installation, lighter weight and to use someone elses planning. These rods are made by Dutch and Diane at PlugItRight. I communicated with Diane by email for a few weeks before ordering and found they offer very good customer service. After installing their product, I'm pleased with the quality and ease of installation too. These four rods weigh 13 pounds, considerably less than the steel rods I installed on the KOTR. I first removed the mounting brackets from the rods and installed using drill-point 1/4" bolts which were supplied. Use a punch to make a starting point |
 |
|
|
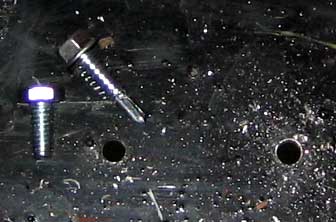
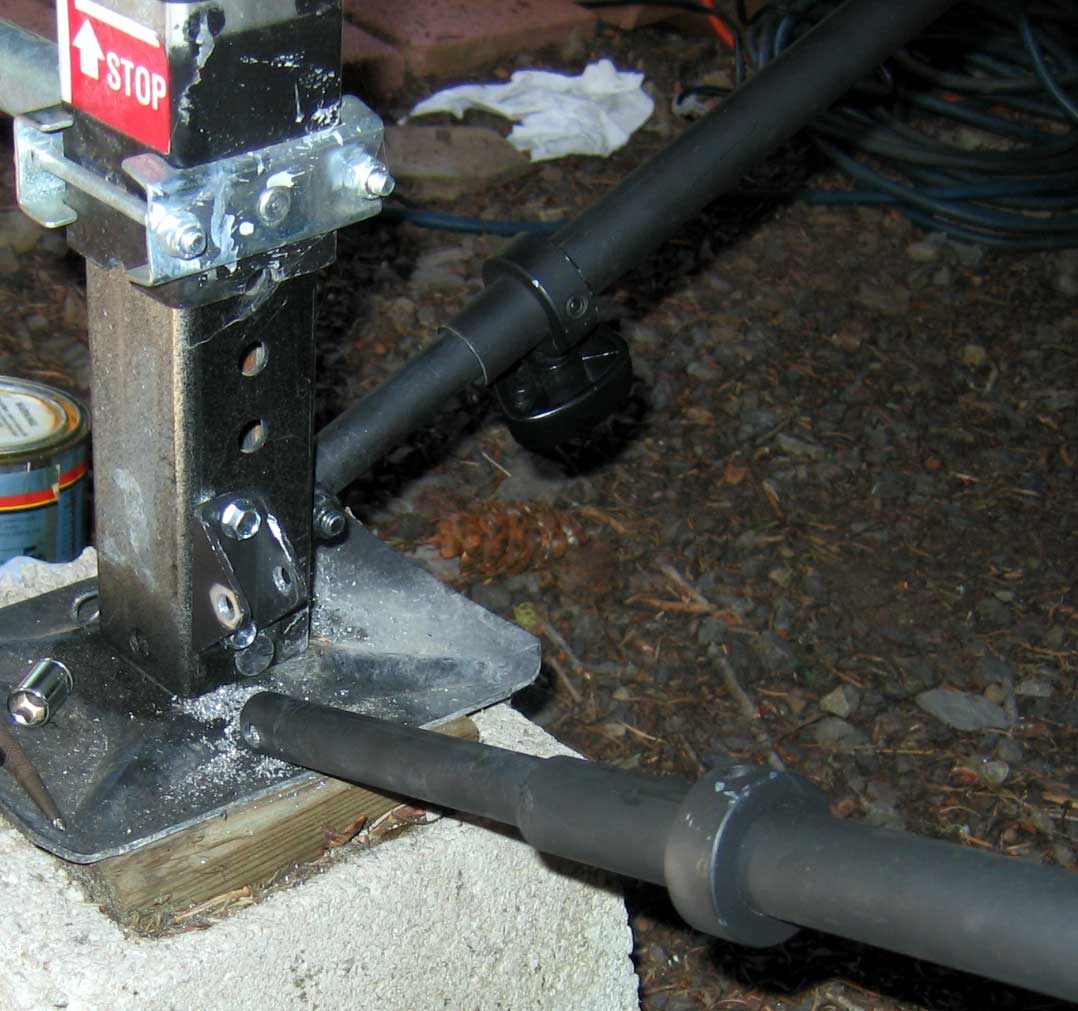
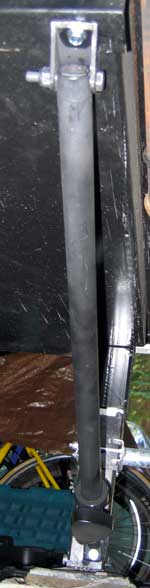
| for the drill point then a 3/8" socket powered by an electric drill to drive the bolt into the hole. My battery powered drill did not have the power to drive the bolt easily. Click the left photo above for a larger view. My Cameo has a very sturdy steel pan designed to hold a generator. I drilling into this steel pan for the upper rod support. The rods are attached with 1/4" bolt and nuts with a nylon bushing, also supplied. This first rod I installed with the locking knob on the bottom of the rod but later decided it would probably be better to have the knob on top of the rod so rotated the rod by 180 degrees. All four locking knobs were mounted in the top position. Once the drill point bolt created the initial hole, I finished off seating the bolt with a rachet wrench. I used the drill point bolts for the rear rod attachment but that means the sharp end of the bolt is into the rear of the front storage compartment. Currently, it's not a problem but I imagine changing those four drill point bolts to regular bolts and nylon bushing nuts later on. For the front four bolts, I used regular bolts and nylon bushing nuts which were supplied. |
 |
|
|
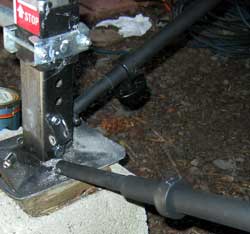 |
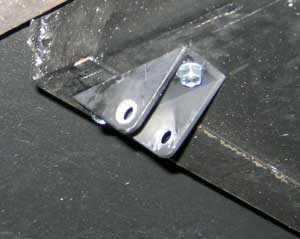
You can see the difference in the bolts in the above photo. I dropped the bolt down into the hole so only the head is in the storage compartment. I'm about to attach the lower rod to the cross bracket in the left photo. Click that photo to enlarge. The right side is finished. The whole project took about four hours to complete only because of the difficulty drilling through tough steel. The drill |
|
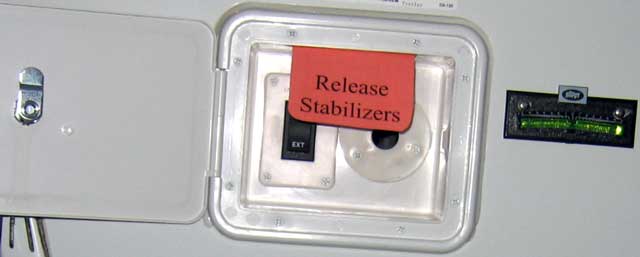
| point bolts did well but my 1/4" drill for the front holes was not all that sharp. Gwen says the stabilizers make the trailer feel much better with not nearly as much wriggling and it's Gwen we are trying to please! You certainly don't want to forget to release the lock knobs, hence the note to myself. |
 |
|
 |
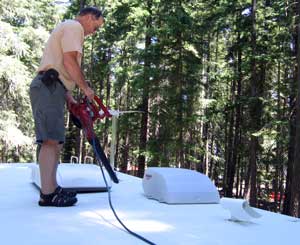 |
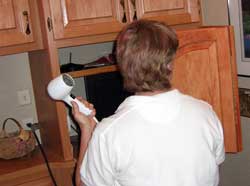
July 1, 2007: Today was a great day for power sweeping the roof of the Cameo. We sit under many conifers and they are always depositing branches, needles, moss, pine cones and dirt to the roof. I'm using a leaf blower to blow off the debris. Later, I'll use Borax to wash the roof. Borax was recommended a couple of years ago by a friend. I've decided to give it a try rather than using the expensive roof cleaners. |
|
| Return to Page 3 |
|
|
|
|
|